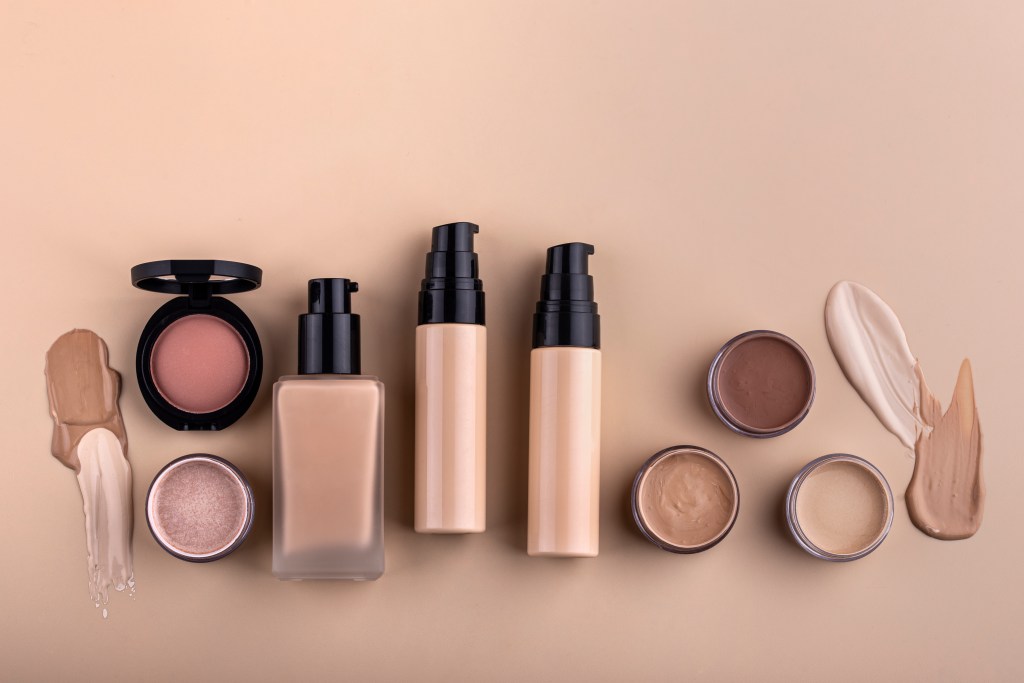
Imagine a lip product crafted precisely for your needs, free from chemicals you can’t pronounce, and bursting with natural goodness. That’s the promise of homemade lip balms and tints. Moving beyond store-bought options offers not just a fun DIY project, but a step towards cleaner beauty, empowering you to control what touches your skin while reducing your environmental footprint.
Commercial lip products often contain petroleum jelly, synthetic fragrances, artificial dyes, and preservatives that many people prefer to avoid. By making your own, you select every single component, ensuring a product that’s truly beneficial for your lips.
Essential ingredients for your DIY lip balm
Waxes (for structure and protection):
- Beeswax: A classic choice, providing a firm consistency and a protective barrier against the elements.
- Candelilla Wax / Carnauba Wax: Excellent plant-based alternatives for vegan recipes, offering similar firmness.
Butters (for deep nourishment and creaminess):
- Shea Butter: Renowned for its intense moisturizing properties and smooth, luxurious feel.
- Cocoa Butter: Delivers deep hydration and a characteristic chocolatey aroma, resulting in a firmer balm.
- Mango Butter: A lighter, less greasy option that’s highly emollient.
Carrier Oils (for hydration, glide, and absorption):
- Coconut Oil: Melts easily, provides moisture, and has a pleasant, mild scent.
- Sweet Almond Oil: Rich in vitamins E and A, it’s easily absorbed and leaves lips feeling soft.
- Jojoba Oil: Closely mimics the skin’s natural sebum, making it ideal for all skin types and highly stable.
- Vitamin E Oil: A powerful antioxidant that helps condition lips and extends the shelf life of your balm.
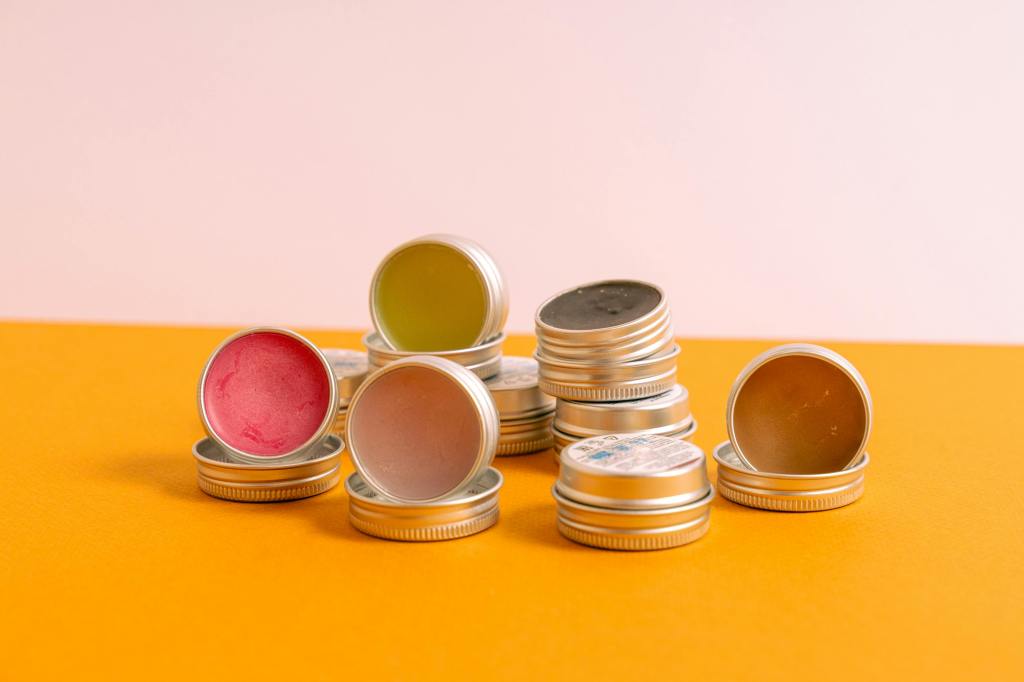
Recipe: Your First Homemade Lip Balm
This simple recipe is a perfect starting point, yielding enough for several applications. Yields approx. 3-4 standard lip balm tubes or 1-2 small tins.
Ingredients:
- 1 tablespoon Beeswax pellets (or vegan wax alternative)
- 1 tablespoon Shea Butter (or Cocoa Butter/Mango Butter)
- 1 tablespoon Coconut Oil (or Almond Oil/Jojoba Oil)
- 5-10 drops pure essential oil (e.g., Peppermint for cooling, Lavender for soothing, Sweet Orange for a cheerful scent – optional)
Tools:
- Small heat-safe glass bowl or measuring cup
- Small saucepan (for creating a double boiler)
- Clean, empty lip balm tubes or small tins
- Pipette or small funnel (optional, but helpful for easy pouring)
Instructions:
1. Combine the wax, butter, and oil in your glass bowl. Place the bowl over a small saucepan containing an inch or two of simmering water (this is your double boiler).
For a firmer balm, add a bit more wax. For a softer, glossier balm, slightly reduce the wax or increase the oil/butter.
2. Heat over medium-low heat, stirring occasionally until all ingredients are completely melted and form a clear liquid.
3. Carefully remove the glass bowl from the heat. Let it cool for a moment (about 1-2 minutes). Add your chosen essential oils and stir thoroughly to combine.
4. Working swiftly before the mixture begins to solidify, carefully pour the liquid into your prepared lip balm tubes or tins. Fill almost to the top.
Reduce plastic waste by reusing small glass jars, tins, or even old, cleaned lip balm tubes.
5. Allow the balms to cool completely at room temperature (this may take 1-2 hours) or place them in the refrigerator for about 30 minutes to speed up setting.
6. Once fully solid, cap your containers and label them. Your custom, nourishing lip balm is ready to use!
Adding a tint
To create a beautiful, subtle tint, simply incorporate colorants into your melted balm mixture (in step 3, before essential oils).
Popular Natural Colorants:
- Beetroot Powder: For soft pinks to deeper berry shades. Start with 1/8 to 1/4 teaspoon and add gradually.
- Cocoa Powder (Unsweetened): Ideal for warm nudes, browns, or a subtle tan hue. Adds a delicious aroma too!
- Cosmetic-Grade Mica Powder: Available in a rainbow of shades, mica adds shimmer and color. Use very small amounts.
How to Tint: Add your chosen colorant to the melted balm mixture and stir vigorously until the color is evenly distributed and no clumps remain. Test a tiny drop on white paper to gauge the shade, and add more colorant if desired before pouring.
Homemade balms typically last 6-12 months, depending on the freshness of your oils and butters. If you notice any unusual smells or textures, it’s time to make a new batch.
Homemade beauty supports a minimalist approach, minimizing your impact on the planet. It connects you more deeply with the products you use, allows for boundless creativity, and contributes to a healthier, more sustainable beauty routine. Get ready to nourish your lips with nature’s best!

Leave a comment